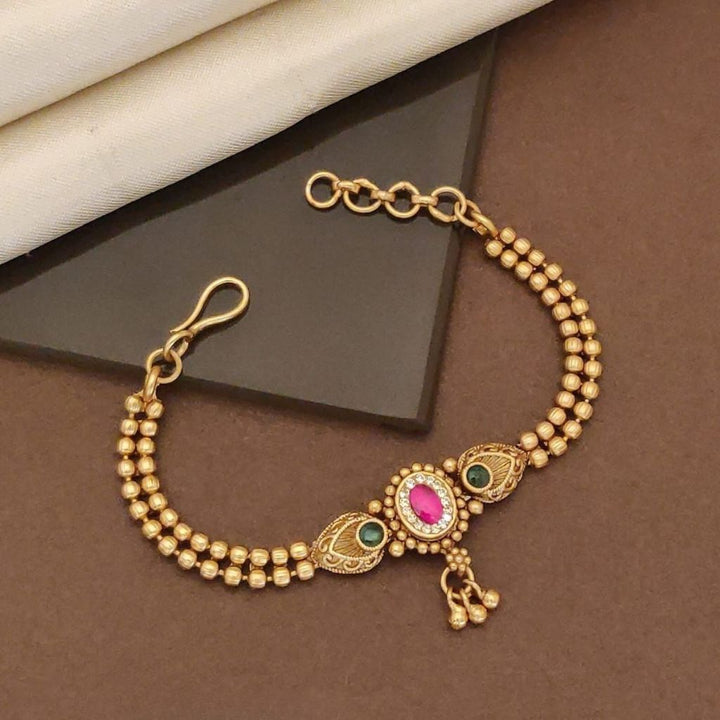
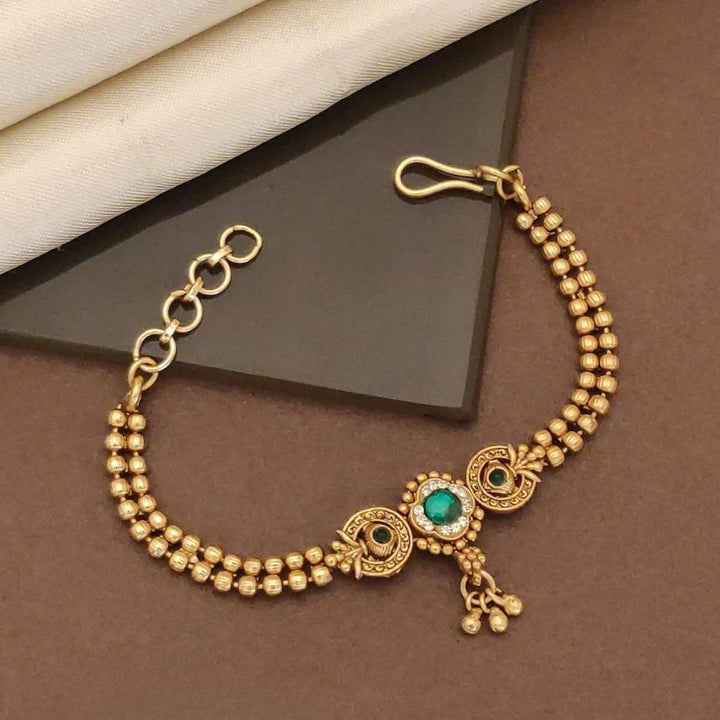
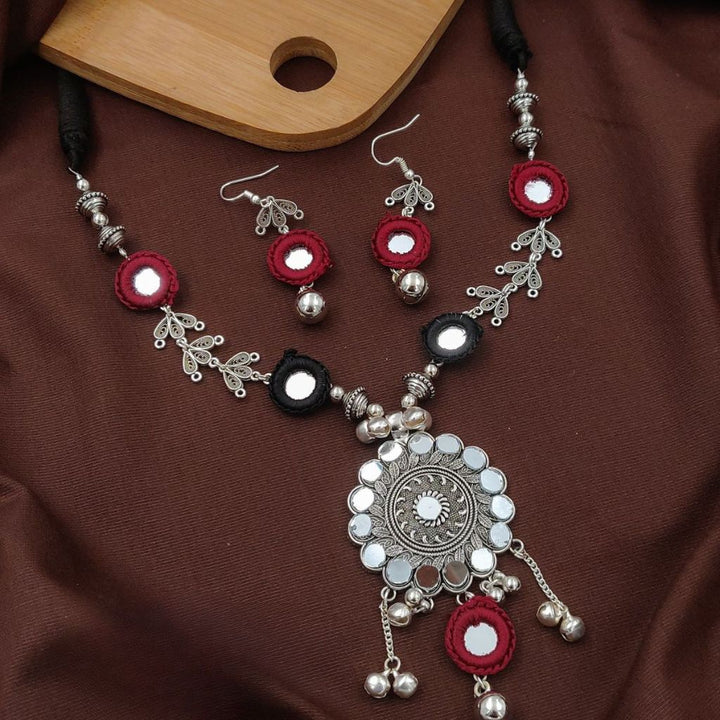
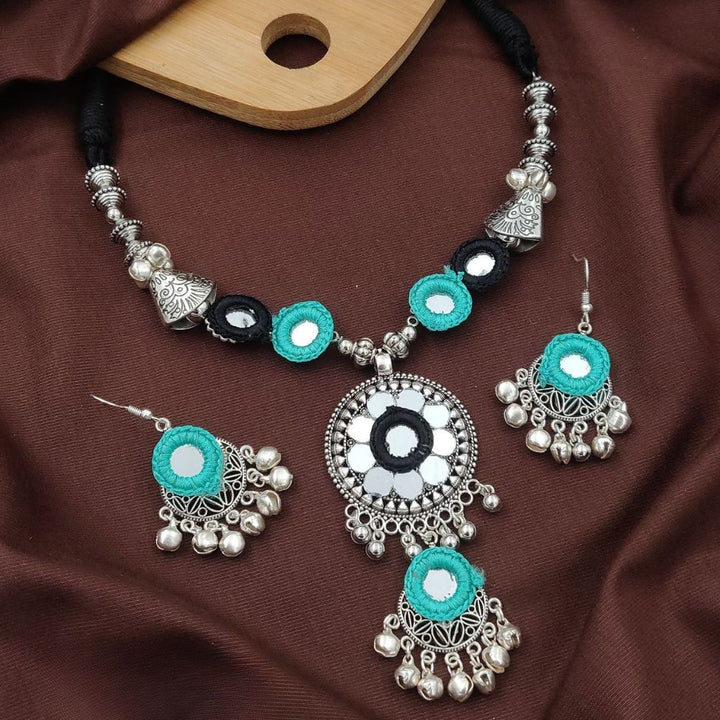
Choker with Tiny Pearls - Chokers are a trendy accessory that can add elegance and style to any outfit.
If you like delicate and dainty jewellery, a choker with tiny pearls might be the perfect addition to your collection.
The best part is that you don't have to spend a fortune to own one!
This tutorial will show you how to make your DIY choker with tiny pearls.
We will also check a unique and fantastic choker design so that we can take it as a reference for making our own.
So, let's get started and let your imagination run wild!
What Materials Do You Require To Create Your DIY Choker With Tiny Pearls?
There are not at such particular materials that you must have for making your own DIY Choker with tiny pearls, but yes, these are some materials that can guide and help you a lot while making your necklace:
Also Read: Why a cotton strap watch is a great gift idea: How can a cotton strap watch make for a thoughtful and practical gift for loved ones?
- Thread and needle
- Jewelry glue or clear nail polish
- Scissors
- Findings for jewellery (jump rings, lobster clasp, and chain extender)
- Pliers for jewellery
- lace or velvet ribbon trim
- Tiny pearls (preferably in the 2-4mm range)
You can personalise the above list and select any product or item you choose to make your pearl choker.
Step By Step Guide To Make Your DIY Choker With Tiny Pearls
Measure and Cut the ribbon.
Begin by determining the desired length of your choker.
Remember to leave enough distance at each end for the closure.
After selecting the size, cut the velvet ribbon or lace trim to fit.
Cut the ribbon a few inches longer than your neck circumference to allow for future adjustments.
Include the findings.
Using the jewellery pliers, secure a jump ring to each end of the ribbon.
These jump rings connect the lobster clasp and chain extender, allowing you to adjust the choker's length to fit comfortably.
String the pearls.
Thread the needle with a matching thread that matches the ribbon colour.
Begin threading the pearls one by one onto the thread.
It's entirely up to you to make a pattern or space them out randomly.
Make sure to leave some extra lines on both ends for later tying.
Keep the pearls safe.
After you've threaded all the pearls, carefully place them along the ribbon, ensuring they're evenly spaced and centred.
Make a knot with your needle and thread at one end of the pearl row to secure it.
Rep this process at the opposite end of the pearl row to ensure they are secure and will not slide around.
Join the pearl row to the ribbon.
Sew the pearl row onto the velvet ribbon with the same thread.
Sew it directly onto the ribbon's centre or slightly off-centre for a more asymmetrical look.
Stitch through the ribbon and the thread holding the pearls to ensure a strong connection.
The final touches
Trim any excess thread once the pearl row is securely attached.
To add extra security, apply a small drop of clear nail polish or jewellery glue to the knots on the thread.
This step is optional but can help keep the knots from unravelling over time.
Change the length
After you've attached the jump rings, you can try on your choker and adjust the length as desired.
If the lobster clasp feels too loose or tight, attach it to a different jump ring to achieve the ideal fit.
The chain extender allows you to add or subtract length from the choker to suit your needs.
Why To Choose A DIY Choker With Tiny Pearls?
Choosing a DIY choker with tiny pearls has several advantages and benefits:
Cost-effective
A pre-made choker with pearls from a store or boutique can be pricey.
By taking the DIY route, you can save money and create a beautiful accessory at a fraction of the cost.
Customisation
DIY projects allow you to customise the design to your preferences and style.
You can customise the pearls' length, width, colour, and placement to ensure that the choker complements your outfits and choices.
Feeling of accomplishment
Completing a DIY project gives you a sense of accomplishment and satisfaction. Wearing a choker, you made yourself can boost your confidence and make you proud of your crafting abilities.
Handcrafted Quality
Making a DIY choker gives you complete control over the materials and craftsmanship.
By carefully selecting high-quality pearls and adequately securing them, you can ensure your choker is long-lasting and durable.
Expression and creativity
Making your choker allows you to express your creativity and show off your style.
You can play around with different pearl sizes, colours, and patterns to create a unique piece that reflects your personality.
Meaningful And Unique Gift Option:
DIY choker with tiny pearls makes a thoughtful and personalised gift for friends or loved ones.
Handcrafted items have sentimental value, and the time and effort spent making the gift demonstrates your care.
Unique Choker With Tiny Pearl
Now that we have discussed DIY Chokers with tiny pearls, let us also look at a precious, unique and fantastic pearl choker from the most trusted online seller of beautifully crafted handmade jewellery, ‘The Colourful Aura’.
Here it is, let us check its details:
Elegant Small White Gold Pearl Unisex 16 Inches Freshwater Pearl Choker Necklace
Following last summer's obsession with shell jewellery, pearls are taking centre stage this season.
Like a new generation of celebrities, the necklace takes on a modern twist.
Consider unique shapes and fun additions such as initials and colourful beads to break up the traditional feel.
These necklaces are popular because they are simple to wear and versatile.
Fresh pearls are used to make this necklace.
The necklace is meticulously handcrafted.
Pearls are beautiful; we tried to incorporate as many as possible to make them beautiful and elegant.
The necklace's standard length is 16 inches.
This necklace is a good choice if you want to make a bold statement and set new trends.
We all want to be trendy, and this necklace is the best way.
Order Now Choker with Tiny Pearls Necklace


